Showing posts with label homeschool. Show all posts

Monday, June 2, 2014

Upcycling Summertime Project for Kids: Pop Top Bracelets


 Happy June!
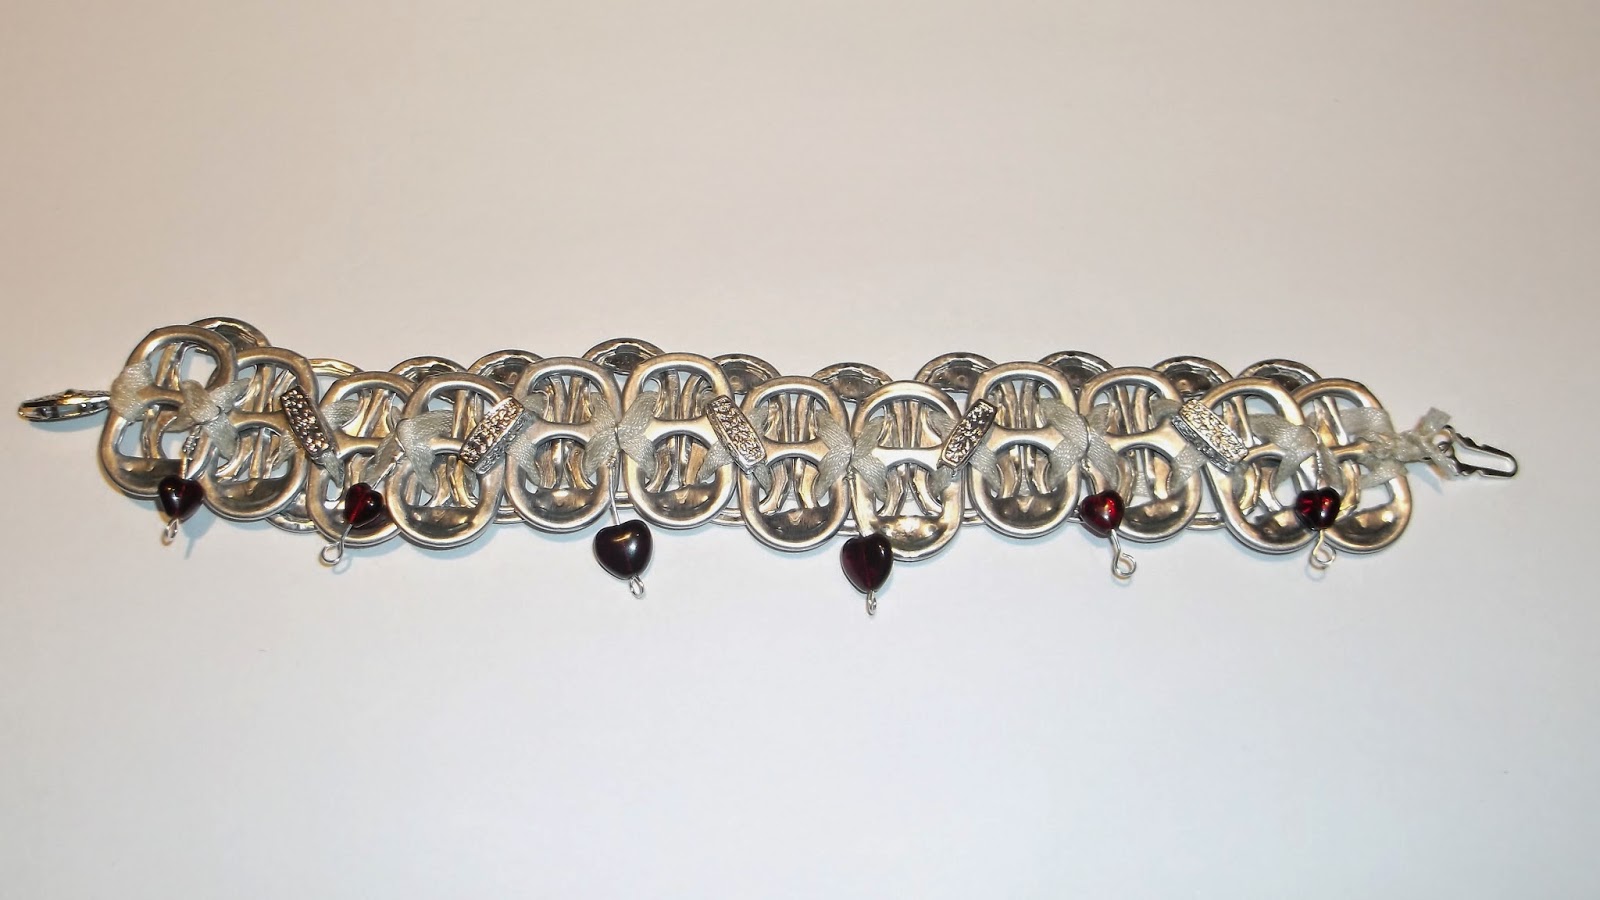
 Here's a fun summertime arts and crafts project to do with kids (or on your own).  It involves up-cycling soda can tops, also called pop tops, into bracelets.  This project is easy for both boys and girls and makes a great gift for the crafter or someone special in their lives.
While far from a traditional Waldorf craft, these pop top bracelets are woven together with ribbon and help children practice finger dexterity and patterns.  They show how "trash" can be turned into "treasure" and offer a unique starting point for a dialog about reducing, reusing and recycling. 
https://www.etsy.com/listing/191645994/red-heart-silver-bead-charm-pop-top
Before you begin you'll want to collect about 30 pop tops per bracelet.  Wash them and use a small hammer to flatten out any sharp edges.  If you're working with older kids they can help with this stage.  Next cut a piece of ribbon about 3 feet long and slide a clasp onto the ribbon letting it rest in the middle.
 Next tie the ribbon with the clasp onto the first pop top.
 Lay the tied pop top on top of an upside down pop top.  Be sure that the holes are opposite each other.  See the picture below where the small hole is on the bottom of the top pop top and on the top of the bottom one.  Rough sides face inside, the smooth sides of the pop tops face out.
 Now thread each side of the ribbon through the bottom pop top and then through the top pop top.  (In the picture below the pop tops from the above picture are flipped over.)
 Below is a picture of the pop tops flipped over again to see what it looks like when the ribbon comes up through the top pop top.
 Now get a third pop top and use the ribbon in a crisscross pattern to connect it to the first pop top, being sure to thread the ribbon down through the bottom pop top (the bottom pop top is the second one you put on).
 Get another pop top and place it next to the bottom one.  Weave the ribbon onto the new pop top and back up through the third pop top.  With the exception of the very first and very last pop top, the ribbon always goes through two pop tops at a time.
 Time to crisscross the ribbon again.  
If you like you can add an accent bead here.
 Keep up the pattern of weaving through the pop tops, crisscrossing on the top layer but not on the bottom.  The picture below is how the front or top layer should look. 
The picture below is how the back of the bracelet will look.  Remember that the smoother side of the pop tops always faces out, the rougher sides will touch each other.
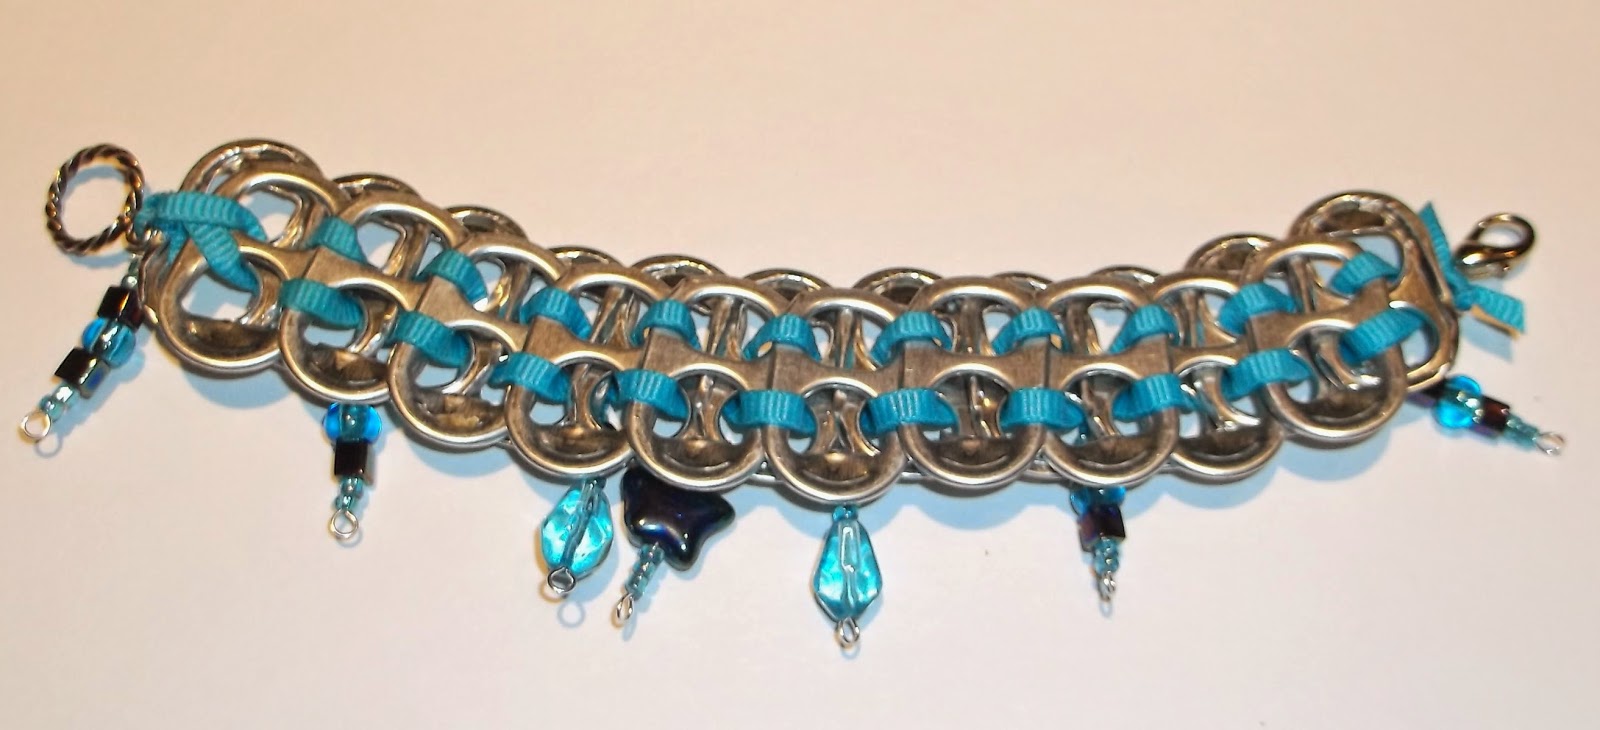
https://www.etsy.com/listing/191651101/upcycled-pop-top-bracelet-with-blue
Once your bracelet is as long as you'd like it to be, put a knot in the ribbon and then attach the other side of the clasp.  If you don't have any clasps you can omit this step and simply tie the ribbon together.  You can use wire, string, or ribbon to attach more beads or charms to the bracelets.  Or keep going and make a necklace :)
https://www.etsy.com/listing/191645994/red-heart-silver-bead-charm-pop-top
 Thanks for visiting and happy crafting!
If you'd like to purchase either of the pieces displayed here, please visit my Waldorf on Etsy shop:  BeadCanyon
or connect with me on Facebook
Enjoy!

Sunday, February 23, 2014

The Extra Lesson

Improving Reading with Physical Exercise
When my first born was four years old he knew the entire alphabet, each letter’s sound, and how to write most of them in capital letters. I beamed and I even told the neighbor “He can read,” much to her disbelief. You see, I figured he was on the cusp if he knew three letters and their sounds. He could easily sit down and put those into a word, right? Four years later we are still learning to read and I’ve learned to be more humble.
I just assumed reading was easy. When I was a girl I loved to read. But, I never knew how I learned to read and I never appreciated language for it’s parts, more for it’s ability to come together to tell a story.  When I was pregnant I read to my son, when he was born, I read to him more. As a toddler he’d bring me tons of books and we’d point out pictures and learn general vocabulary. When he was just three he sat by while I read all of Stuart Little. Naturally, I thought reading would be easy for him, something that would magically happen. 
I’ve since learned reading is a process that involves games, rhymes, rules and repetition. As any mother would, I am always on the lookout for clear, easy and fun ways to teach him reading rules. Imagine my surprise when a fun new way to enhance reading ability arrived in the form of bean bags, crawling on the floor, and jump roping. 
The Extra Lesson: 
As a parent who prefers natural and holistic methods The Extra Lesson really appeals to me. An approach that helps children with learning disabilities, it is also beneficial to those without. For children with ADD, ADHD, Dyspraxic, Dyslexic, Auditory Processing Difficulty, or as Gifted and underachieving, this method works drug-free. For a mother trying to help her son put joy into reading, it works as well. 
As usual, this Waldorf centric approach focuses on meeting each child at his need level. Extra Lesson classes are available at many Waldorf schools from counselors following Audrey McAllen’s Steiner inspired curriculum. The most wonderful part is the exercises are really fun! 
With help from books and websites we came up with exercises we can integrate right here at home. Weekly we are tossing bean bags and doing crawling races around the house. My boys have learned to do Chinese Jump rope and are inventing their own challenges.
Both boys are improving their gross motor spacial awareness which translates to spacial awareness on paper. It’s easy to incorporate the exercises, they enjoy them, and it’s a great addition to our weekly reading practice.
Interested in finding out more about The Extra Lesson? 
Check out these websites: 
Check out these books: 
Take Time by Mary Nash-Wortham and Jean Hunt
The Extra Lesson, Movement, Drawing and Painting Exercises to Help Children with Difficulties in Writing, Reading, and Arithmetic by Audrey E. McAllen.
https://www.etsy.com/listing/124204565/play-silk-waldorf-playsilk-autumn-hike?ref=shop_home_active_4
Waldorf Play Silk by Pail and Pie
Special thanks to Brenda from Pail and Pie for this article!

Monday, February 17, 2014

T-shirt Bag Tutorial


T-shirt Bag Tutorial
by Tania Prosser of Fairy Shadow
We all have them, the t-shirts that get left in the drawer month after month, year after year.  Maybe we think the color is unattractive, the neck a little too snug or too loose.  Maybe the design no longer calls out to us to be worn.  Whatever the reason, these shirts are good candidates for upcycling.  (Upcycling is the environmentally friendly art of taking unwanted materials and turning them into better, more useful materials.) Unwanted shirts make the perfect starting point to create your own alternative to plastic sacks.  These simple drawstring bags are easy to make and great for trips to the market, for holding your produce, to store toys, as beach bags, book bags, for environmentally conscious gifting and much, much more!
 
Getting Started:  Choosing Your Shirt
Choose a shirt that is made of jersey material rather than interlock fabric.  Jersey has a knit side and purl side.  Interlock has the “v” shape weave on both sides of the fabric.  The jersey will curl into the cord that will make your drawstring and interlock will not.  Choose a shirt with a sound hem at the bottom of the shirt.  It will form the casing for the cord to pass through.  
Step One:  Cut the Shirt
 
Make the first cut just below the arms of the shirt and then a second cut 1 ½" below the first cut.   
This narrow cut will be the drawstring of the bag.
https://www.etsy.com/shop/fairyshadow
Cut the sides off of both of these cuts, creating two strings and two panels.
https://www.etsy.com/shop/fairyshadow
Step 2:  Fold and Sew
Fold a panel in half and starting at the hem of the shirt sew a straight stitch down to the bottom.  A second seam closes the bag at the bottom, leaving the opening at the hemmed section. 
Step 3:   Thread the Drawstring
Turn the bag right side out.  At either side of the seam make a small hole in the top layer of the casing (hem).  Jersey stretches so it doesn’t need much of a hole to work. 
https://www.etsy.com/shop/fairyshadow
Take up your drawstring and stretch it to roll the fabric.  Using a safety pin or hair pin, thread the drawstring through the casing.  I like to use a contrasting colored drawstring.  Knot the ends together.  I like to add an embellishment by hand stitching a little circle onto each bag.
 
Step 4:  Get Creative
You can use this same technique with the sleeves of the t-shirt for small bags.   
These make nice dry lunchtime snack packs too.
 
Step 5:  Share with Your Community
This project is a great way to introduce children to upcycling.  If your school or community group holds a rummage sale you will often see hundreds of pounds of textiles being offered for sale, much of it going unsold and then donated to charity shops.  Every Goodwill sorting facility processes hundreds of tons of clothing a year.  Consider a class project in which the students harvest from your rummage sale before the final cleanup.  After washing the shirts will be ready for sewing.  If you have fund raising events the students could produce collections of bags to sell at those events, having the satisfaction of both recycling the garments and bringing funds to their school or community group.
A special thanks to Tania for sharing this wonderful upcycling project with us!
Be sure to visit her etsy shop, Fairyshadow for a wide array of upcycled creations.
Connect with Tania via Facebook
  Enjoy!

Monday, July 1, 2013

Syrendell's LAPHH


 ~Love ~ Abundance ~ Peace ~ Health~

Happiness!

  
Kerelaion eBook
 
Jennifer & Rick Tan are the owners of Syrendell.  Syrendell is the collaboration of love, abundance, peace, health and happiness in the Tan Family.  They share their knowledge and talents with others through their arts, crafts, writing, and music in order to help others have an enriched, holistic, joyful life! 


Syrendell's mission is to provide you with handmade 
toys, crafts, fiber arts, custom aromatherapy and harp music 
so that you may fill your home with opportunities to learn 
and LAPHH!
 Their items are wonderful for home learning, for artists, as well as for Waldorf-inspired folks and families who wish to attain a more holistic, artistic, and natural family life.
 
Wood Crochet Hook Set
 
Follow their blogs and join them on their magical journey:  


You can also "Like" their Facebook page! www.facebook.com/syrendell

 Chalk Drawing Video & eBook
Syrendell are proud members of the Waldorf on Etsy Team!

Tuesday, June 25, 2013

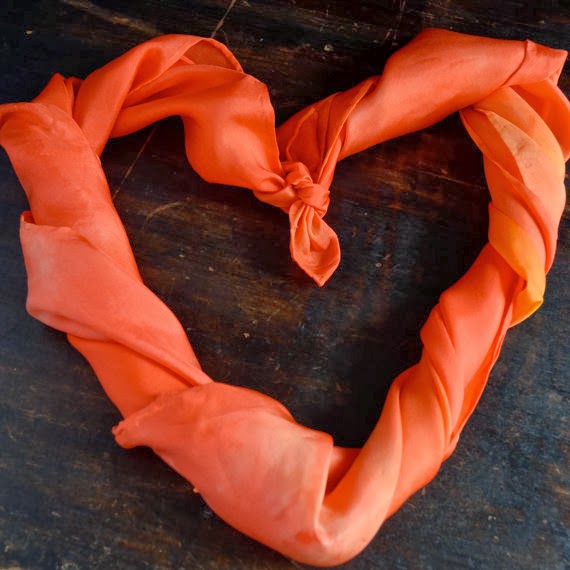
An Introduction to Play Silks

 Summer Sky Play Silk
Introducing Play Silks
By Brenda Massei of Pail & Pie
 Waldorf play silks are simple, beautiful toys that need no instruction manual for children yet often bring a puzzled look upon first introduction to adults.  Explaining the joy of play silks to an adult takes longer than showing them, but here are a few reasons parents will enjoy them too.
Play Silks are Natural. 
Play silks are dyed squares of 100% silk. The feel of the scarf is light, fluid, and soft. Natural toys are less harmful to our environment and our children. 
 
  Silk Streamer Ring
Play Silks are Open Ended. 
Like many Waldorf toys, play silks are open ended. Children use their imaginations with silks. Silks become an easy backdrop for play because they are so basic. They can be used as capes, vehicles, animals, or whatever the child needs at that moment of play.  Simply holding onto a silk while running is enjoyable.
Play Silks Support The Child's Ability of Expression.
Play silks allow a child to dive into any play they enjoy and wish to play at that moment. The silks are not limiting but instead support multiple types of imaginative play. Silks are the ultimate reusable toy.  They can be the main focus of  play or a special ingredient.
Play Silks are Not Commercial.
Silks offer a commercial free option to the many store shelves full of television and movie marketed items. Children don't have to feel compelled to collect silks or use them in a manner compatible to a plot line. Play silks are free from any marketing and therefore are free to become a child's own. 
Play Silks are Beautiful.
Toys that are lovely to touch and beautiful to behold generate a reverence for life. Children exposed to such beauty can learn to appreciate simple, natural elegance.  
Play Silks for Kids
My seven year old son thinks they make great forts! Do you have play silks for your children? What do they use them for?  Leave a comment and share your ideas.

Tuesday, May 28, 2013

Knitting with Children


Learn to Knit with Your Kids
By Brenda Massei of Pail & Pie
At a local outdoor trades fair my boys and I saw a woman dyeing and drying wool yarn. Her skeins looked like drying pasta on handmade racks and drew us in. Naturally, I started asking her about her yarn and then steered our conversation towards knitting, a favorite pastime of mine. She pointed to my sons, then ages six and four, and said, "How old are they? On the prairie, that one (pointing to my six year old) would be knitting his own socks or he would have cold feet." My son looked at me and I at him in disbelief. Hand knit socks by children? She had my attention.
Beyond having warm toes on the prairie, knitting has many other lifelong benefits. Waldorf schools have children knitting at the first grade level citing benefits such as focus, concentration, left to right progression pre-reading skills, fine motor skill development, delayed gratification, and confidence building. Ruldolph Steiner said children should knit because it was working on their minds. Children must problem solve, pay attention, and form judgments while knitting. He believed that repeat movements created stronger mental connections, linking a child's thinking to his fingertips. Knitting learned as a child can be carried on through adulthood and has been cited as providing health benefits like lowered blood pressure and chasing away depression.  A little while after I was inspired by the yarn dyer, my six year old son learned to knit, to both of our delight. 
Hand Knit Hackey Sack by Girl Power
Simple ways you can get started knitting with your children:
1. Contact your local senior center.
A mother in our homeschool group had this great idea. Knitters love to share knitting and seniors love to see children. She has learned to knit alongside her son at the local seniors center through weekly social knitting.
2. Visit the local yarn shop.
Most local yarn shops have classes, some free, on beginning knitting. It's good business for them to teach you, so take advantage of it.
3. Search your library.
Perhaps you aren't ready to "sign up" for classes, but are interested in learning at home. Search your local library for books and DVDs on knitting. Ask your librarian to order in a specific book or DVD if they don't have it on their shelf, they almost always can.
4. Browse.
Youtube.com has many tutorials on how to knit. It can be helpful to have the ability to pause and repeat. 
 Hand Knit Wool Barn Bag by Pail and Pie
5. Call Your Local Waldorf School.
Chances are very good that someone who works at the Waldorf school knows how to knit. A simple phone call could yield more information or connections, if not lessons.
6. Check out Ravelry.com.
This website is dedicated to bringing "ravelers" together. Click on the "groups" button at the top bar and find local knitters. Contact them through the site for more ideas on knitting.
7.  Ask.
In conversations with the neighbors mention you would like to learn to knit. I always appreciate my friends as amazing resources. At the mere mention of a topic there is usually someone who can chime in. Perhaps the neighbor's mother knits or perhaps she just saw a free class at the library you missed. You never know unless you ask.
Simple ways to share knitting with your children if you already know how to knit.
It may sound silly, but just letting your child see you knit is a good way to introduce them to it. Your enthusiasm for a hobby can become enthusiasm for them. When they ask if they can try, take advantage.
2. When showing your child the knit stitch teach them this rhyme:
In through the front door
Come around the back
Out through the window
And off jumps Jack.
3. Find simple patterns.
Waldorf patterns are amazing for their ability to turn squares into the sweetest little animals. Some books to try are Kids Knitting by Melanie Falick, A First Book of Knitting for Children by Bonnie Gosse and Jill Allerton and Creative Play for Your Toddler: Steiner Waldorf Expertise and Toy Projects for 2-4s by Christopher Cloud.
4. Be Patient.
Knitting can be confusing and challenging. I have a niece desperate to learn but having trouble with it. We just try it sometimes and leave it alone other days.
Hand Knit Woodland Garland by Pail and Pie
5. Try different things.
If you knit, you have different needles and yarn around. My son learned on very large needles with thick yarn. Others have said their children have learned on small needles. Everyone is different. You can experiment and see what your child has the most success with.
6. Guide their hands.
My younger son holds the needles while I knit. He tells me he's knitting with me. I have held, guided, and showed him the process while knitting my projects.
7. Try finger knitting.
If knitting is not working out for you, don't despair. Try finger knitting or crochet. The repetitive motions are beneficial no matter how you stitch it.

Hand Knit Doll by Girl Power
 Let us know how you learned!
Thanks to these sites for their articles on the benefits of knitting: 

"InThis First Grade, Knitting and Stories are the Focus." WBEZ Blog. Linda Lutton. May 31, 2012.  
"Knittingand Crochet Offer Long-term Health Benefits." PRLOG. Editor Caley Walsh. Feb. 9, 2009.
"WhyTeach Knit and Crochet?." Craft Yarn Council.com.

Make Your Own Handmade Knitting Needles ziezo Crafting and Living in Kenya blog

A special thank you to Brenda Massei for this post!
 Please visit her Waldorf on Etsy shop:  of Pail and Pie
as well as visit her blog:  Pioneer Kids