Happy June!
Here's a fun summertime arts and crafts project to do
with kids (or on your own). It involves up-cycling soda can tops, also called
pop tops, into bracelets. This project is easy for both boys and girls and
makes a great gift for the crafter or someone special in their lives.
While far from a traditional Waldorf craft, these pop top bracelets are woven together with ribbon and help children practice finger dexterity and patterns. They show how "trash" can be turned into "treasure" and offer a unique starting point for a dialog about reducing, reusing and recycling.
Before you begin you'll want to collect about 30 pop tops per bracelet. Wash them and use a small hammer to flatten out any sharp edges. If you're working with older kids they can help with this stage. Next cut a piece of ribbon about 3 feet long and slide a clasp onto the ribbon letting it rest in the middle.
Next tie the ribbon with the clasp onto the first pop top.
Lay the tied pop top on top of an upside down pop top. Be sure that the holes are opposite each other. See the picture below where the small hole is on the bottom of the top pop top and on the top of the bottom one. Rough sides face inside, the smooth sides of the pop tops face out.
Now thread each side of the ribbon through the bottom pop top and then through the top pop top. (In the picture below the pop tops from the above picture are flipped over.)
Below is a picture of the pop tops flipped over again to see what it looks like when the ribbon comes up through the top pop top.
Now get a third pop top and use the ribbon in a crisscross pattern to connect it to the first pop top, being sure to thread the ribbon down through the bottom pop top (the bottom pop top is the second one you put on).
Get another pop top and place it next to the bottom one. Weave the ribbon onto the new pop top and back up through the third pop top. With the exception of the very first and very last pop top, the ribbon always goes through two pop tops at a time.
Time to crisscross the ribbon again.
If you like you can add an accent bead here.
Keep up the pattern of weaving through the pop tops, crisscrossing on the top layer but not on the bottom. The picture below is how the front or top layer should look.
The picture below is how the back of the bracelet will look. Remember
that the smoother side of the pop tops always faces out, the rougher
sides will touch each other.
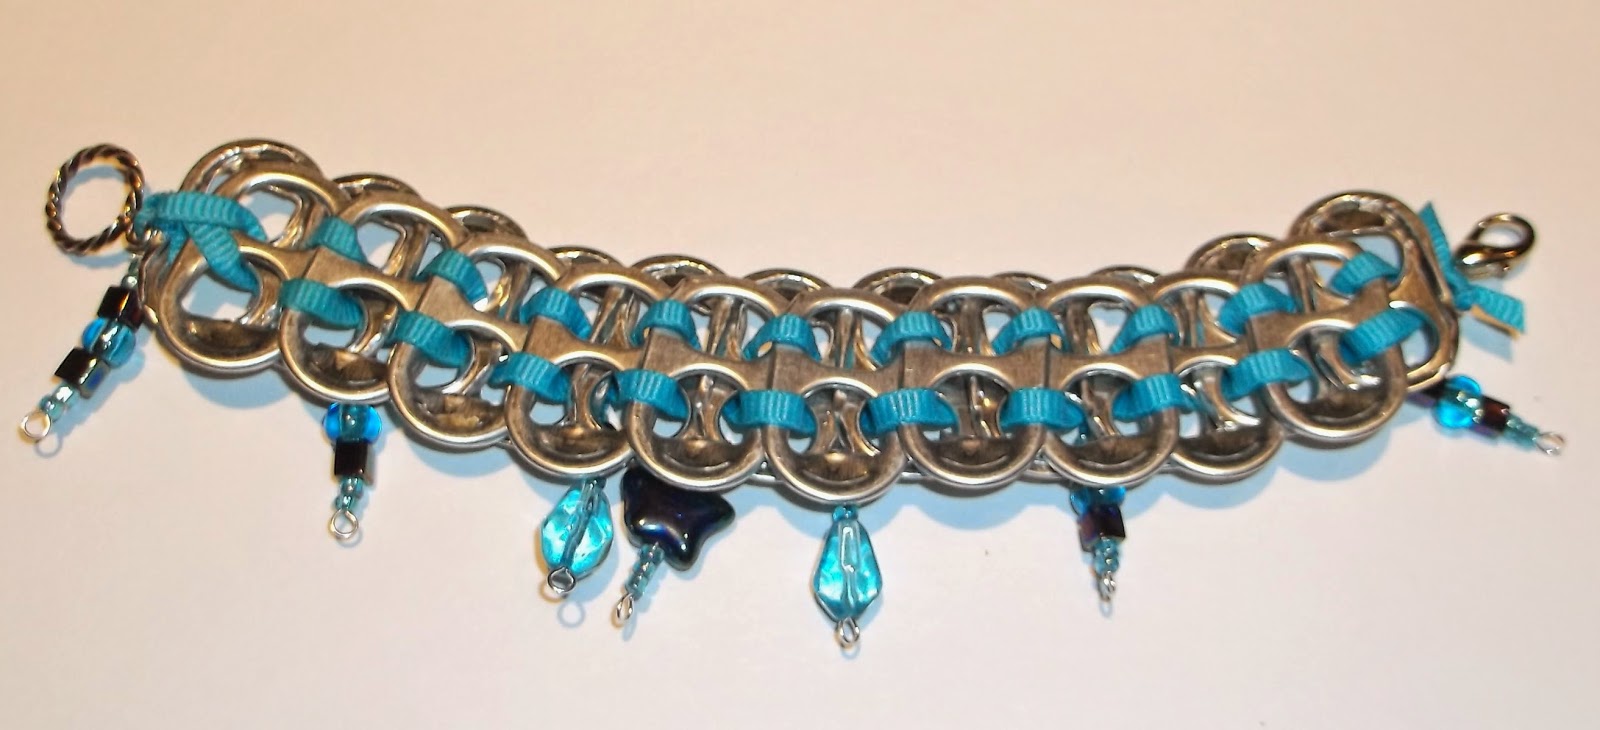
Once your bracelet is as long as you'd like it to be, put a knot in the ribbon and then attach the other side of the clasp. If you don't have any clasps you can omit this step and simply tie the ribbon together. You can use wire, string, or ribbon to attach more beads or charms to the bracelets. Or keep going and make a necklace :)
Thanks for visiting and happy crafting!
If you'd like to purchase either of the pieces displayed here, please visit my Waldorf on Etsy shop: BeadCanyon
Enjoy!


No comments:
Post a Comment